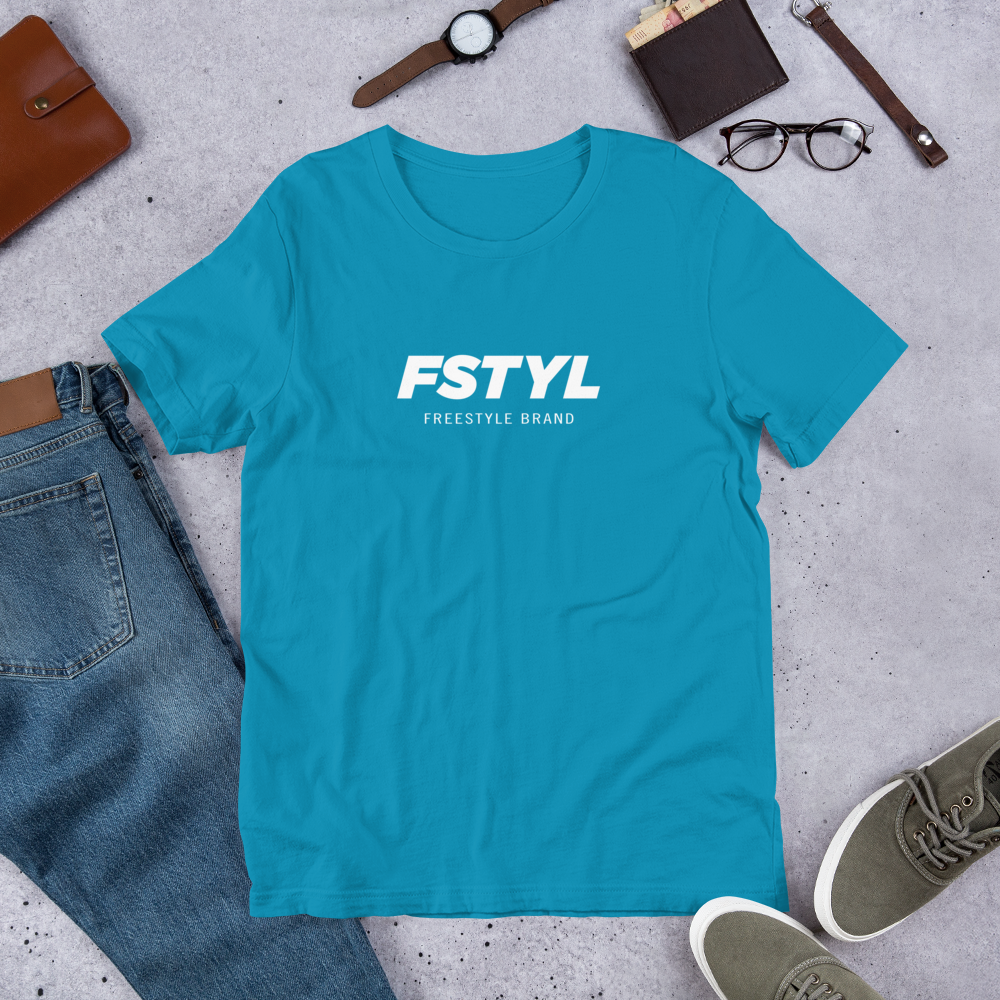
T-Shirt Printing
Turn your ideas into premium products that leave a lasting impression. We’ll help turn your idea into reality.
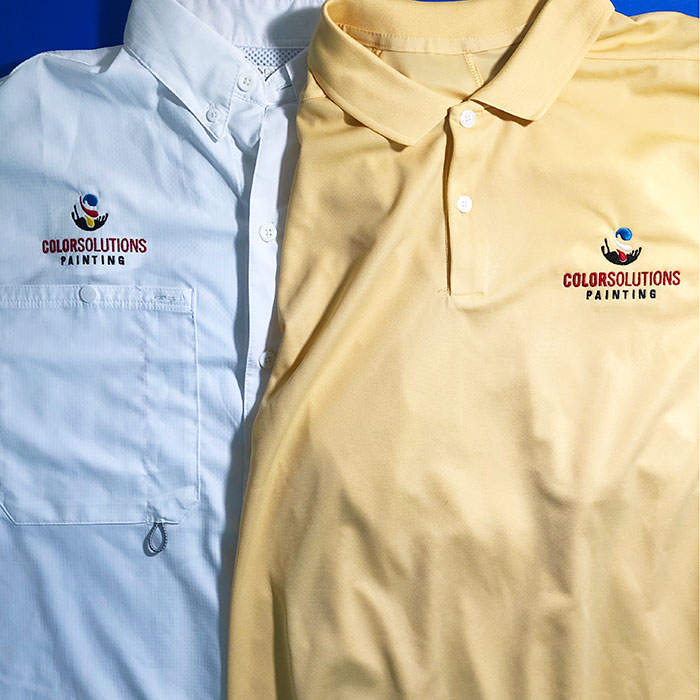
Embroidery
Get quality apparel with high-quality embroidery. If you don’t like it, you don’t pay. We stand behind our exceptional products and service. 100% Satisfaction Guaranteed.
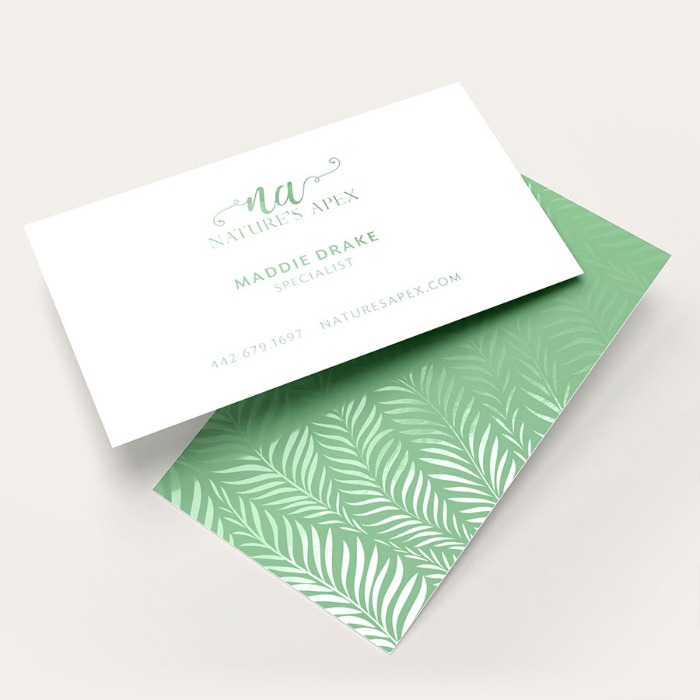
Collateral Material
Grab attention and match your brand personality with premium printing that will set up apart from the competition.
Our Screen Printing Process
First and foremost, the design to be printed onto the fabric is printed out onto a transparent acetate film, which will be used to create the stencil or screen.
2. Preparing the screen
The method gets its name from the use of a screen to print the design. There’s no ‘one size fits all’ approach here, and choosing the right mesh screen involves assessing the complexity of the design to be printed, and the material which is to be printed on.
3. Exposing the emulsion
The transparent acetate film which holds the design is then carefully placed onto the emulsion-coated mesh screen. This is placed under a very bright light, which causes the light-reactive emulsion to harden and develop. This is an important step in creating the design imprint, as any areas of the screen which are covered by the design will remain in liquid form.
4. Creation of the stencil
The screen must be exposed under the light for a set amount of time before the emulsion has hardened on any areas that are not covered by the design. In order to leave a clear imprint of the design on the screen, any emulsion which has remained in liquid form will be carefully rinsed away.
5. Preparation for print
The silk to be printed on is laid down flat on the printing press (we use an automatic rotary carousel printer), and the screen is carefully placed on top in the desired position, ready to print.
6. Printing
This is when the printed design finally starts to come to life! The screen is lowered down onto the printing board, above the piece of silk. A thick layer of ink in the desired color is applied to the top of the screen and a squeegee (a rubber blade attached to a long metal handle) is used to drag the ink across the whole length of the screen, covering the full stencil.
7. Quality check & finishing
Finally, the ink is cured by passing the silk through a special dryer to reveal a smooth, colorfast finish design. The final product will be checked and thoroughly washed to remove all traces of emulsion residue and ensure it’s ready for use.
Embroidery Process
Step 1: Your Concept
Logo/Design:
As with screen printing and any of our other services, each project begins with you and your vision for the apparel that you order.
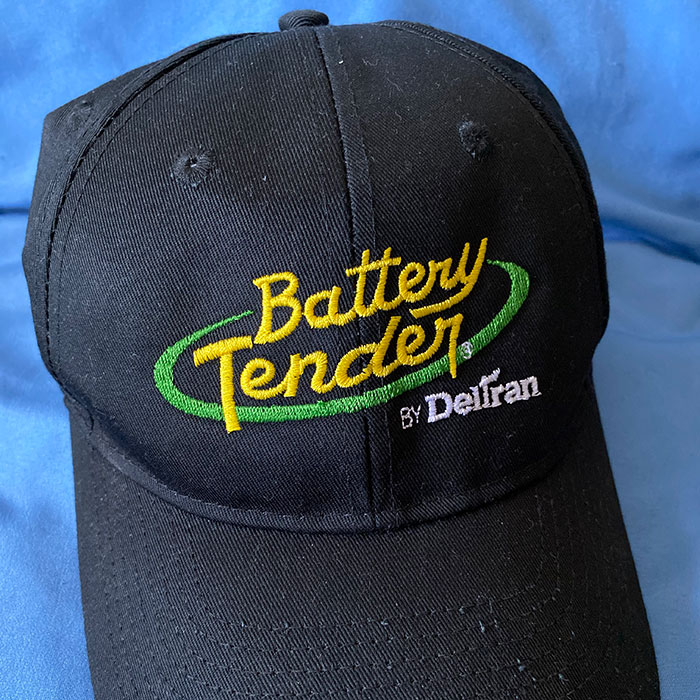
Most companies come prepared with their own logo to be embroidered. This is extremely helpful because it means that all we need to do is get the logo digitized for embroidery so the machine can read the design.
Step 2: Set Up Design File
There is a small computer on each of the embroidery machines that reads the design files. I use USB drives to transfer your design from the main computer to the one on the embroidery machine. Once I have inserted the USB, I can select the thread colors for each part of the design. Each embroidery head has 15 needles, so although I haven’t seen anything close, we could potentially sew a design that has up to 15 different colors! (Most designs are between one and three colors.)
Step 3: Hoop, hoop-a-doop
We have a little jingle that we sing around the office to indicate that it’s time to hoop the garments. (If you come in and ask nicely, I might sing it for you… Be warned that it’s very short and leaves something to be desired in the way of lyrics.)
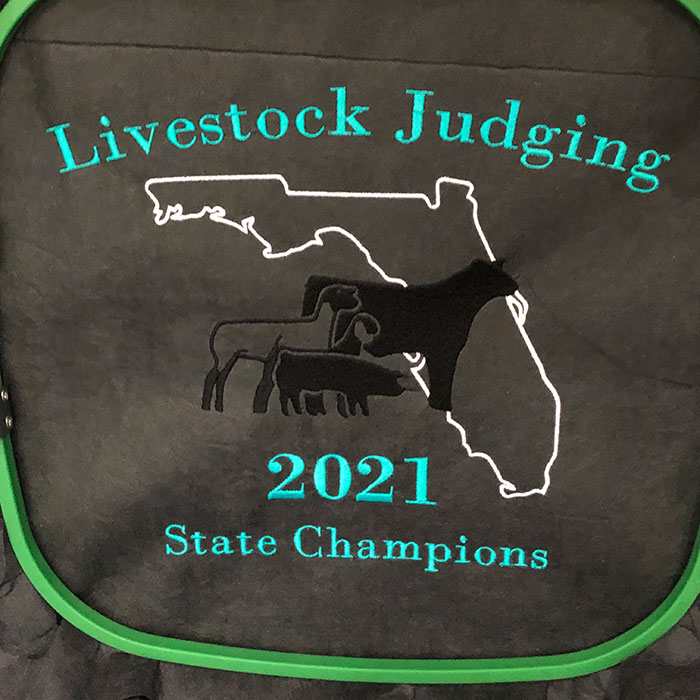
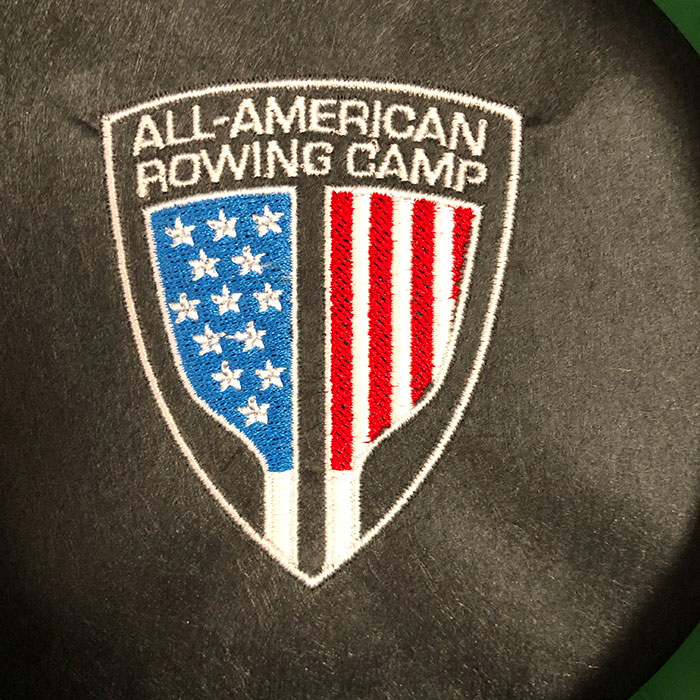
To get back on track, hooping is when I secure the garment in a hoop, which holds the fabric taut. The hoop snaps into the machine to keep the garment in place. Most garments also require backing to be hooped along with the garment, which will be either cut or torn away after the item finishes sewing. The backing lends structure to the garment, so the machine has something substantial to sew on.
Step 4: Trace it Out
Once the garments are hooped, I place them on the actual machine. This is when I double-check that the design will be centered within the hoop and placed correctly on the garment. Luckily, I can check all of this without having to sew out a test design. Instead, the machine allows me to trace the outline of where the design will be placed within the hoop. If the tracing is not to my liking, I can adjust the starting point as much as I need to until it is in the right place.
Step 5: Sew the Design
This is the point we have been working toward sewing out the design! All that’s necessary to do on this step is to press the green “Start” button and the embroidery machine takes it from there.
Occasionally, the machine will have to stop mid-sew if it runs out of bobbin thread or encounters another problem. In that case, it generally only takes a few seconds to fix the problem and start it up again.
Step 6: Trim Backing & Threads
Once the design is fully sewn out, I take each piece off the machine and remove the hoop from the garment. This is when I put the finishing touches on the piece by cutting away or removing the backing. Many designs will also have some threads that are not part of the design, but they go between the letters or other elements of the design. I use trimming scissors with very pointy ends to carefully cut away these unnecessary threads to make sure the final product looks clean and professional.

